Contact Info
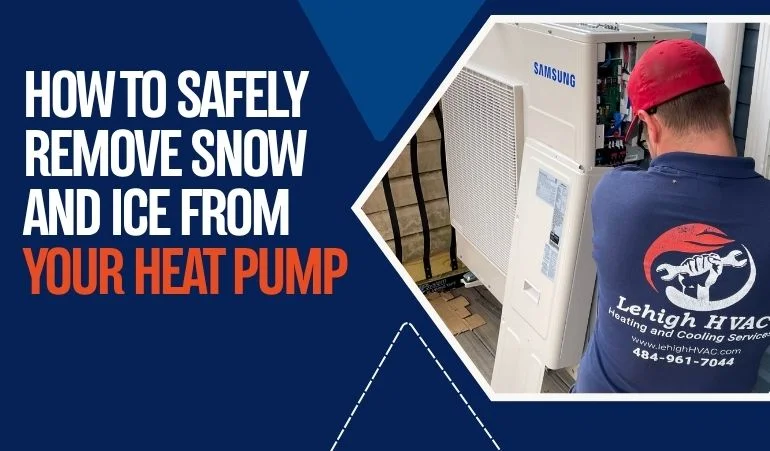
You might have noticed ice forming on your heat pump system. This happens mostly to the outdoor unit components, including the outdoor coil. It is nothing to worry about if there is minor ice; you only have to address it if there is significant ice that you think might interfere with the airflow. Many customers make the mistake of breaking the ice with sharp objects like knives or screwdrivers; this is not safe at all. Doing so results in major equipment damage. The best practice is to first remove the loose snow, let the hard ice melt, and then clean the equipment completely before turning it back on. And this is not the only precaution to follow. Always contact your local HVAC contractors if you notice serious hazards, unusual signs, or a risk of major equipment damage.
This blog covers a step-by-step guide on how to safely remove ice from the heat pump unit. The guide is particularly good for customers in Pennsylvania.
Though professional heat pump service is recommended, you can remove the snow and ice through DIY as well. The process is pretty straightforward but requires a meticulous approach. Complete every step carefully, and if you notice anything abnormal, stop until a certified technician approaches you.
Here is how it works.
Before you touch the outdoor unit, make sure it is turned off at the thermostat level. Approach the indoor thermostat and turn it to the "Emergency Heat" or "AUX Heat." This turns the backup heat on and prevents the outdoor unit from running cycles when you are working. This single, small shift allows you to clean the outdoor unit completely without risking equipment damage. You can also turn the thermostat to the "OFF" position to stop the equipment operation while you are removing the ice.
Before you pick up any tools or brushes, clear the pathway around the outdoor unit. This is especially recommended if it has experienced recent snow or a windstorm. Remove the snow, leaves, bushes, or buildup within at least a 3-foot radius of the unit. It allows you to remove the ice hassle-free and ensures the airflow remains optimized when you turn the system back on.
There is no need to make every single component completely ice-free simultaneously. The best practice is to first remove the loose debris. We recommend using a soft tool, such as a brush with gentle bristles, to wipe out the loose and easy-to-remove snow. Using a hose or deep-cleaning equipment is completely discouraged at this point. Don’t try forceful techniques. Remove the portion that you can easily wipe out. The remaining residue will be wiped out in the next steps.
When you are done removing the loose snow, let the hard ice melt on its own. Using metal tools, such as a hammer, shovel, or ice pick, to break the ice away is strongly discouraged. Doing so can crack the delicate aluminum foil fins and other metallic components. Similarly, using boiling water to melt the ice fast is also unsafe, as it can crack the internal components. However, you can use tap water to speed up the process.
Once all the snow is gone, clean the equipment with a clean, dry cloth to ensure the airflow is optimized. Turn the system back on and check if it now works smoothly. A slight sound when it starts is normal. But if it makes continuous buzzing or rattling sounds, it means the airflow is not fully optimized, or there is damage to another component.
Although DIY methods work in many cases, sometimes they are not satisfactory. This is when you need to call a professional. Here are a few signs that it's time to seek expert help:
Thick, solid ice that will not melt with gentle water rinses.
Grinding, squealing, or loud mechanical noises coming from the fan.
The unit continues to ice over repeatedly or fails to produce heat.
Contact Lehigh HVAC if you are anywhere in Pennsylvania. Our team ensures you get prompt assistance when it matters most.